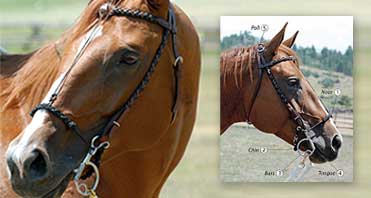
Key 3: Tools
I am not manually inclined… my gifts came in a different form. However, as a horsewoman, I had to develop a good level of manual dexterity in order to be effective in my trade, and that came through motivation, hard work and lots of practice.
I discovered earlier on that having the right tool for the job made a massive difference in my ability. I am not very good at driving nails into a piece of wood, but I can get it done if I have a good hammer. I might be able to do it using something else, like a screwdriver; however, it will probably take a very long time, I will most likely injure myself in the process, I will waste quite a few nails and when I do manage to put one in the piece of wood, the likelihood of having a crooked and wobbly nail is pretty high. Believe me when I say I speak from experience!
I have been trimming my own horses for over 10 years. When I first learned how to trim, after spending good money on my training and knowledge, I initially resisted investing the money into a quality set of tools. I got the cheapest rasps and knives I could find. Well, that got old quick. Those cheap tools were cumbersome to use, I ended up injuring myself with a blunt knife and the results on my horses’ feet were less than stellar – as I cursed and sweated throughout the process, working way too hard to get a good cut or rasp those hard feet. Having already committed to the first two keys to success, a good attitude (willingness and desire to learn) and the knowledge (clinics, training, reading, studying barefoot trimming and hoof anatomy), I finally bit the bullet and decided to get proper tools to do it right. I did some research and bought the best rasps, knives and nippers on the market, and I never looked back.
When it comes to natural horsemanship, the same thing applies. When I first decided to learn Parelli, I was not quite ready to give up my traditional tools to purchase the recommended equipment – after all, I had several trunks filled with all sorts of halters, leads, lunge lines, saddlery, bits and other gadgets. I went with the minimum and bought lower quality copies and makeshift items — only to find out in the long run that I was impeding my own learning and confusing my horses with unclear and muddled communication. Once I finally got the right tools for the job, I removed one of the key obstacles to my progress and actually ended up giving up and selling many of my old traditional tools. As a matter of fact, I still own my very first Parelli halter, 12 foot rope and carrot stick, purchased in 1999, and I still use them every day!
This is the guideline we use when it comes to tools: keep it simple, kind and effective. If you want to learn natural horsemanship, you only really need a few good tools, but you have to be very particular about their quality and function. This is why Pat Parelli ended up making his own tools. They were designed because no one else was making the type of equipment that helped establish a good communication between horse and rider. When you have enough savvy, you only require few tools to be effective with horses, but you become increasingly demanding about the tools you use. I use professional grade tools that are built to last a very long time. They work for people and for horses and vastly improve the quality, effectiveness and sensitivity of the communication.
You will find a list of tools needed at each level of the Parelli Program below.
By the way, don’t forget that your saddle is also an essential part of your horse toolkit. A bad saddle can greatly affect your horse’s movement, stride and attitude, and in the long run, health, because horses that are ridden in tension, pain and improper posture will develop all kinds of musculoskeletal issues. The wrong saddle will also compromise your own balance, confidence and comfort. There are simple and effective ways to test your saddle fit providing you have enough knowledge and skill, and it does not require very sophisticated equipment.
To find out more details about the effects of saddles on horses and humans, check out my page here: http://www.lechevalaunaturel.blogspot.ca/p/selles-saddles.html
So, what are you using to nail that board? Are your tools facilitating or hindering your horsemanship?
To learn the Parelli program, we recommend the following tools:
For Level 1, you will need:
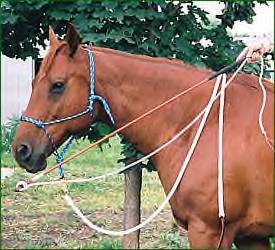
The Parelli rope halter, the 12 foot line, a carrot stick and a 6 foot savvy string. Now available in an array of great colors!
For Level 2, you will also need:
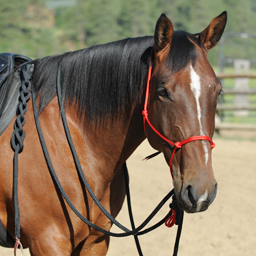
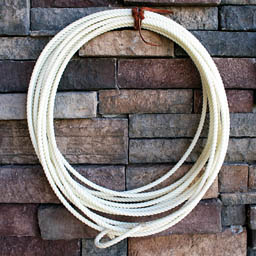
The Level 1 tools, plus the Parelli natural hackamore and the 22 foot line. Now available in a great array of colors so you can mix and match! You may also want to purchase the Parelli snaffle bit bridle (optional).
For Level 3, you should have:
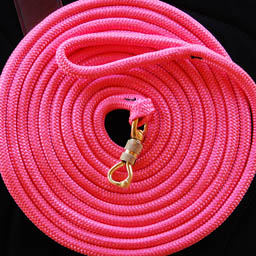
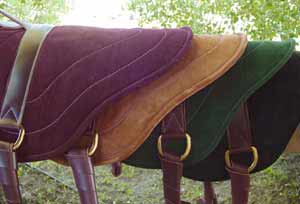
The tools for Levels 1 and 2, a Parelli snaffle bit bridle (several models are available) and the 45 foot line. You may also want to get a bareback pad if you wish to develop a better seat and balance on horseback.
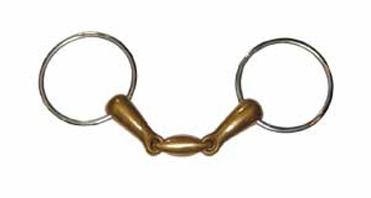
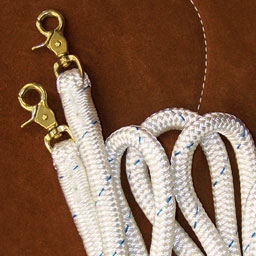
Once you are ready to start working on flexion and engagement, you will need the Confidence bit and Finesse reins (pictured below).
For Level 4, you will need:
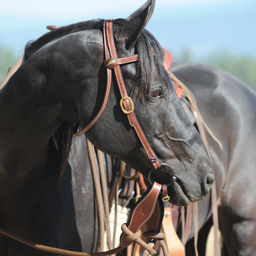
All the tools from the previous levels plus a second carrot stick. You will want to change your bridle to the Cradle System, the tool of choice for Finesse riding. This revolutionary bridle, designed jointly with the Myler brothers, has been developed to maximize confidence, comfort and communication with the horse under saddle. The bit is selected according to your horse’s personality. For more information on the selection and usage of the Cradle bridle, please check the corresponding documentation in the Documents.

